Meteorological station with raspberry pi (phase 1)
For our next project (which we will reveal soon), we have been working with the Raspberry Pi for building some sort of meteorological station. That piece of hardware will contain the following features:
- Light sensor
- Temperature sensor
- Soil humidity sensor
- Water pump
As you may notice, most of the components are resistors, and the Raspberry Pi is not very good with them, as it doesn’t have analog inputs (as we briefly mentioned in a previous post ). There are two common ways to solve this problem, one of them is using a capacitor, and the other is using an ADC (such as the MCP3008). At this point, we made some experiments using the capacitor approach.
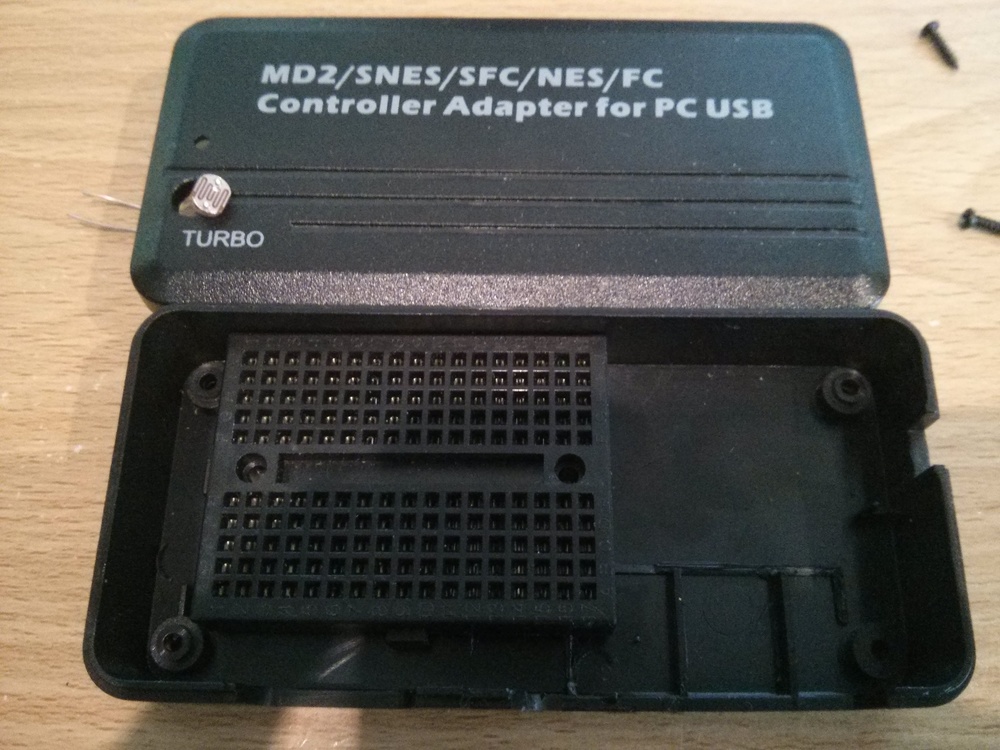
To begin with, we started looking for a waterproof case, as the station is going to be outdoors. As we don’t have any 3D printer (yet) we recycled a gamepad case, which just happened to be perfect for our purposes.
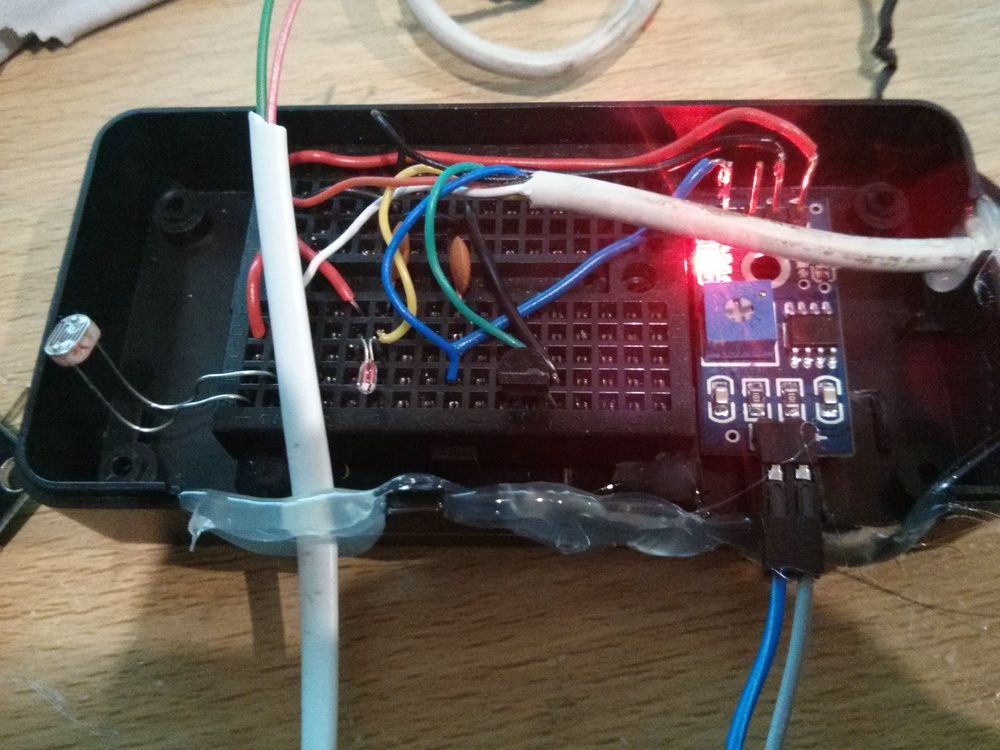
We added all the components into a small breadboard (for testing).
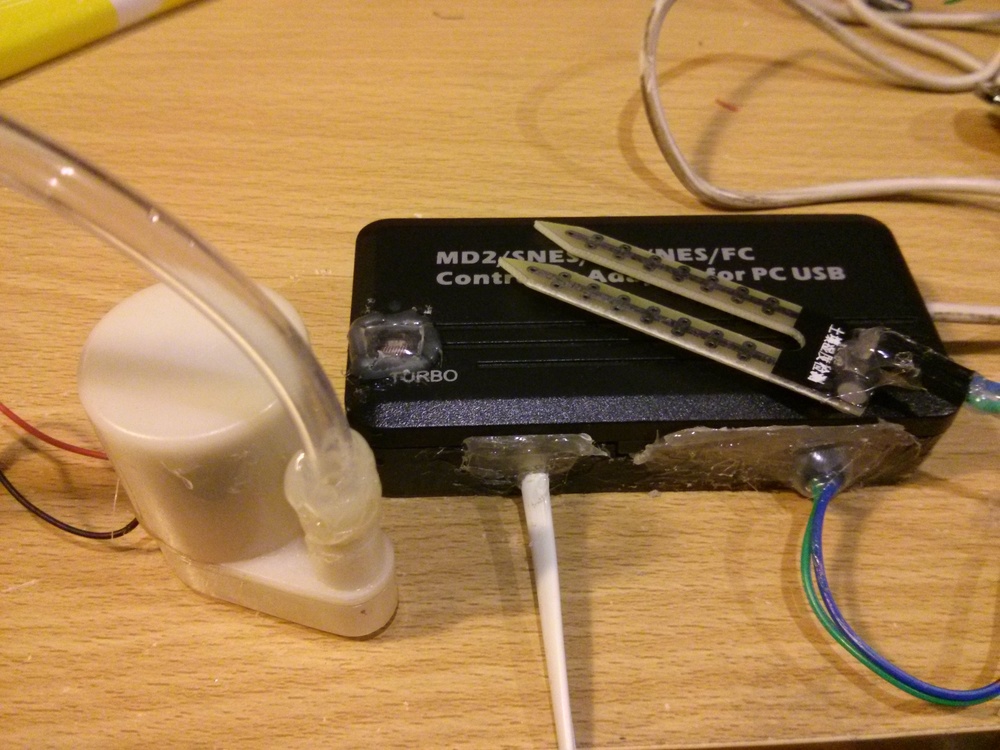
We sealed the case and connected everything together.
And after a few days outside, this is the result we got.
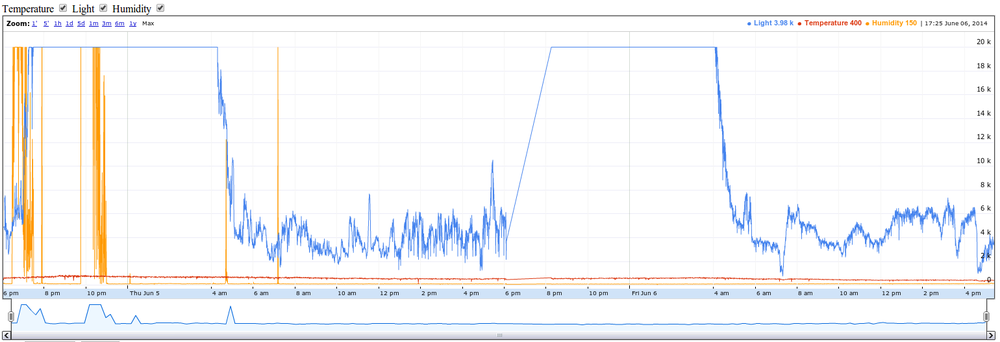
Conclusions:
As we can see, the capacitor manages to capture analog values, but they are not very precise (they rely not only on the capacitor value, but also on the machine load).
Also, the soil humidity sensor we used was too cheap: it got rusted and it became useless.
We had to take care of setting a cap to the values we read, because when a sensor goes wrong (like our soil humidity sensor) we start getting values so big that our application blocked because of it.
There’s to paths we can take from here, in our search for more satisfactory results:
- Using the MCP3008 chip and a better soil humidity sensor and we will compare both graphs.
- Use an Arduino for reading the analog values, and integrate comunication via bluetooth or radio.
Stay tuned for our next experiment.