Build a smart home using Raspberry Pi and Energenie
We recently discovered Energenie (thanks to Manoj) a nice and cheap remote controlled socket which also provides a custom shield for Raspberry Pi, you can use it to programatically control those sockets. This allows endless possibilities: from temporized sockets, to a socket that automatically turns on when detects presence using a PIR sensor, or triggered by a website or a phone app.
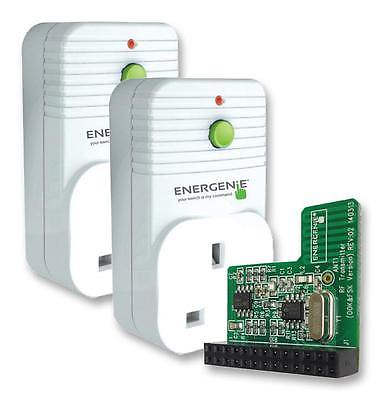
You can buy 2 different types of Energenie, some individual sockets or an extension lead socket with 4 individually controlled. You can also find them cheaper on Amazon or Ebay.
Every Energenie comes with a remote that you can use to power on or off those sockets using radio (no need to point with the controller to the socket like an infrared remote). You can use them just like this, but of course the really fun part is to be able to program them with your Raspberry Pi. For this, you’ll need the control board shield as well.
You can download a library for Python to use with Raspberry Pi from their website, and check some examples of basic usage.
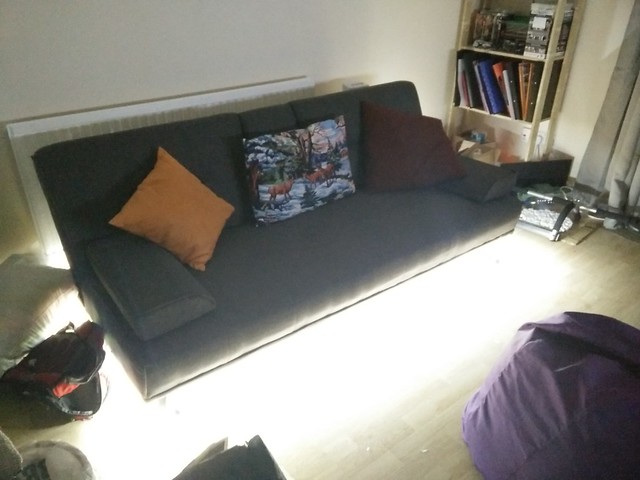
In our case, as our first project, we built a website so you can control all sockets in the extension lead from your computer. In one of them we added some Cinema style lights under our sofa using a LED strip connected to a 12V supplier on the socket.

The interface looks like this:
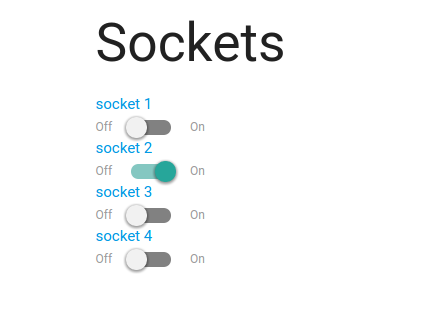
You can check the source code in our Github.
Warnings and limitations
Each Raspberry PI board or remote allows you to use 4 different sockets (or 1 extension lead) maximum. Which means you can’t have for example 5 sockets controlled with a single Raspberry Pi.
Each socket can only be paired with 2 controllers maximum, which means you can’t control a socket with a remote and 2 Raspberry Pis. Every time you pair a new socket, the oldest one will get unpaired. Also, remember to pair every device before using it or it won’t work.
Do you have more ideas to implement with Energenie? we’d like to hear about them in the comments.