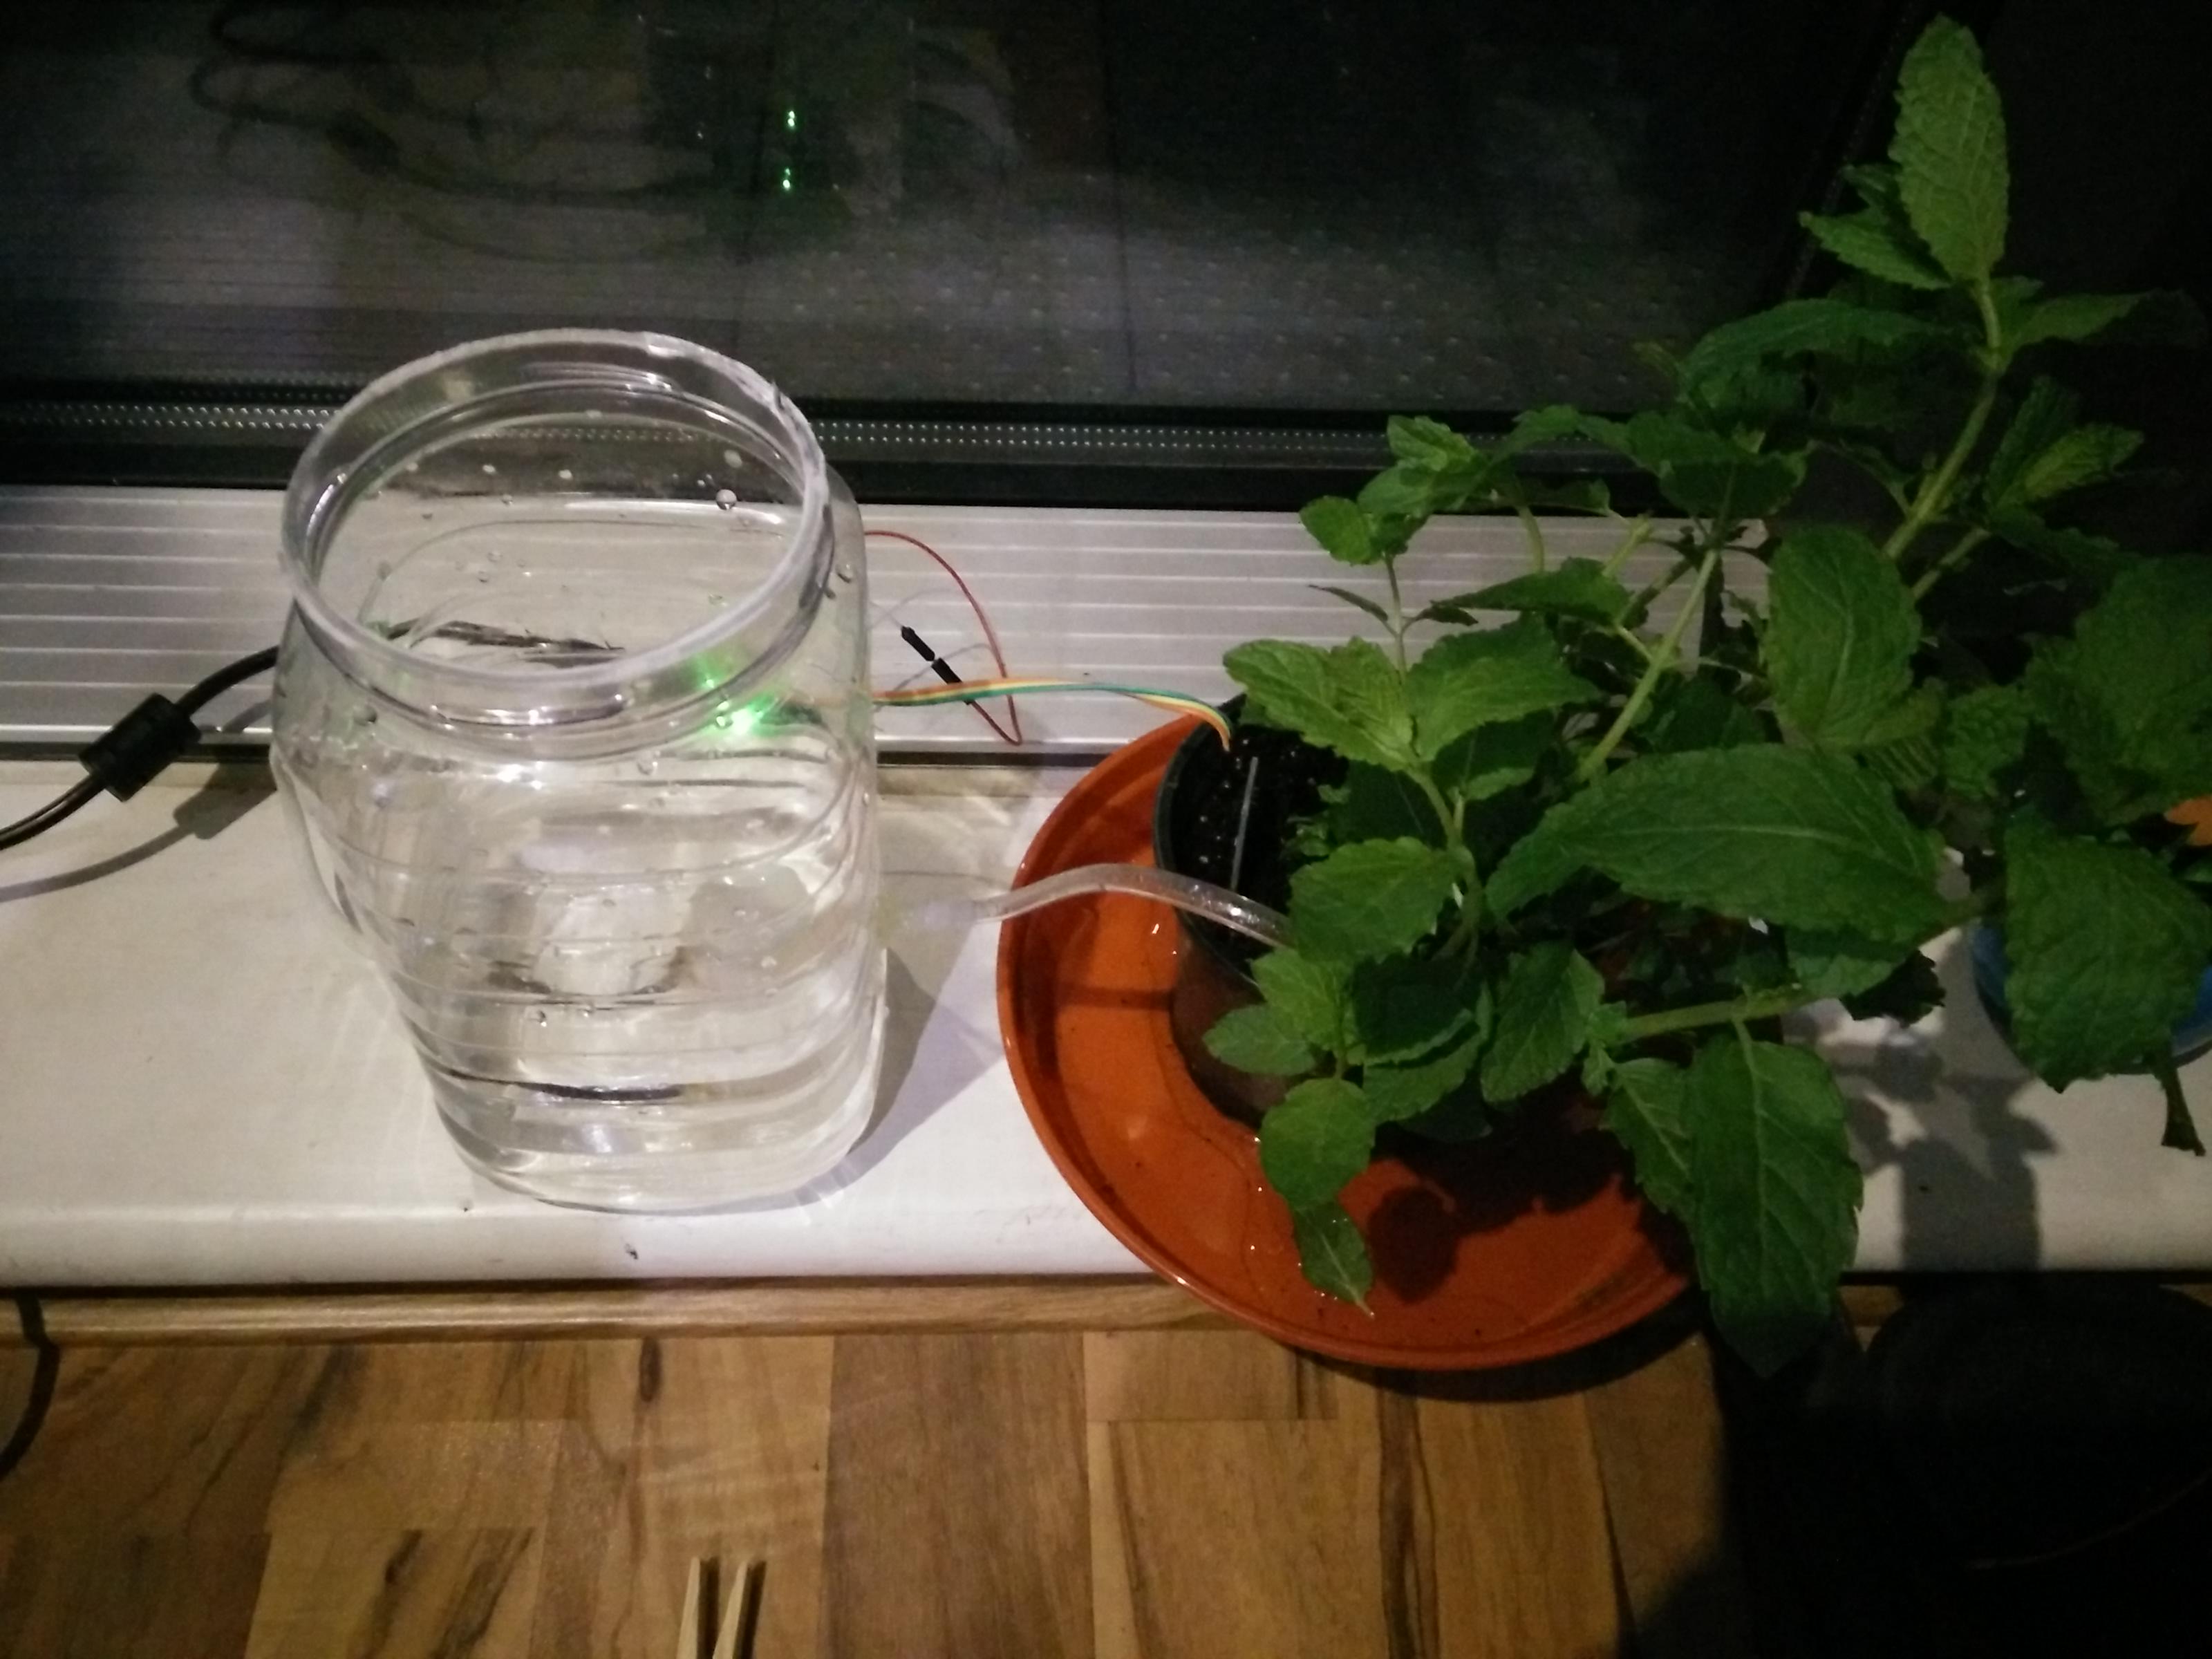
Summer is comming and we may need to water our plants almost everyday, but we should take advantage of technology and let machines water our plants for us.
Today we will show you how to build a simple and smart watering system using Arduino.
| Description | Materials |
|---|---|
In this tutorial we will create a simple watering system using basic Arduino code,
with sensors and some digital outputs.
|
Difficulty |
First you need to enable your water pump from Arduino. Some of them may have different current requirements, mine works on current: 0.05A~0.12A. However, Arduino I/O pins have some current limitations (up to 40.0 mA), therefore we will use a transistor as a switching device, connected directly to VCC.
You can see all the details in the schema below.
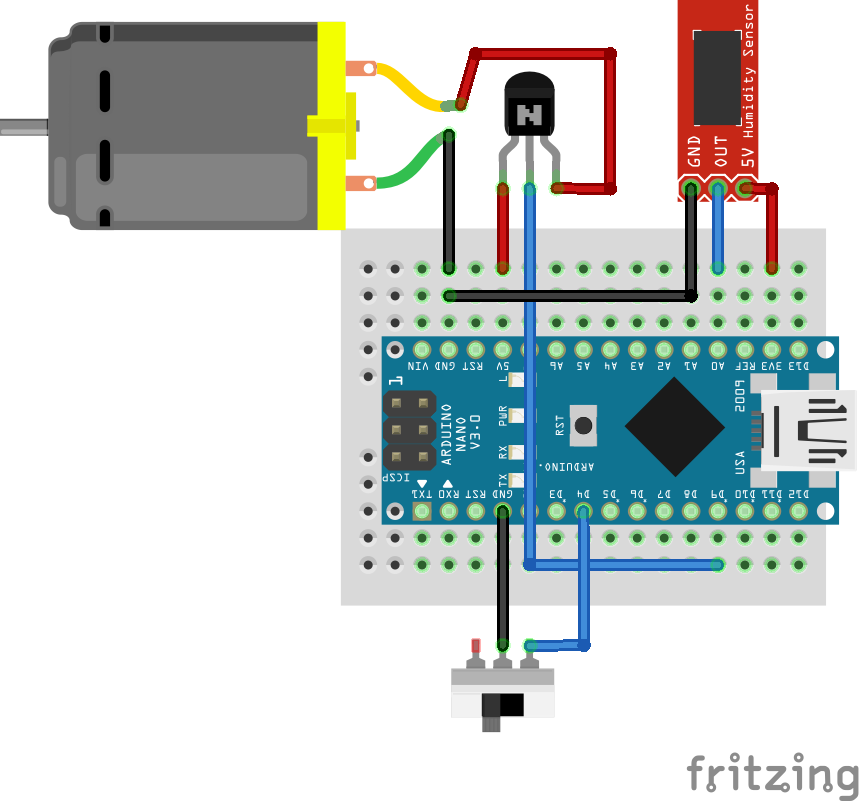
Another thing to mention is that we want our automatic watering system to have two different functions:
- Time-based: Water the plants every
xseconds duringyseconds. - Humidity-based: Water the plants everytime it hits a threshold.
To pick either of the methods we will use a normal switch that we will read inside the loop in our code.
Here’s the Arduino sketch, also available on github
1 2 3 4 5 6 7 8 9 10 11 12 13 14 15 16 17 18 19 20 21 22 23 24 25 26 27 28 29 30 31 32 33 34 35 36 37 38 39 40 41 42 43 44 45 46 47 48 49 50 51 52 53 54 55 56 57 58 59 60 61 62 63 64 65 66 | |
If you don’t have a humidity sensor (or don’t want to use one), you can remove both (the switch and the sensor) from the schema.
But also, you can use this for watering multiple plants, or you could use this project for your pets or to wake up in the morning covered by water in your bed.