Control Energenie with NodeMCU
You might have noticed, we like the concept of Smart Homes, and physical devices you can control remotely from an API using your local Wifi network. Specifically, we’re talking about Energenie sockets, a brand of electrical sockets controlled by radio. We’ve introduced previously these sockets in posts like Control Energenie with ESP8266, Control energenie with Pebble or Raspberry Pi and Energenie but this time, we’re going to show you how we built the same Energenie radio controller with a NodeMCU web server.
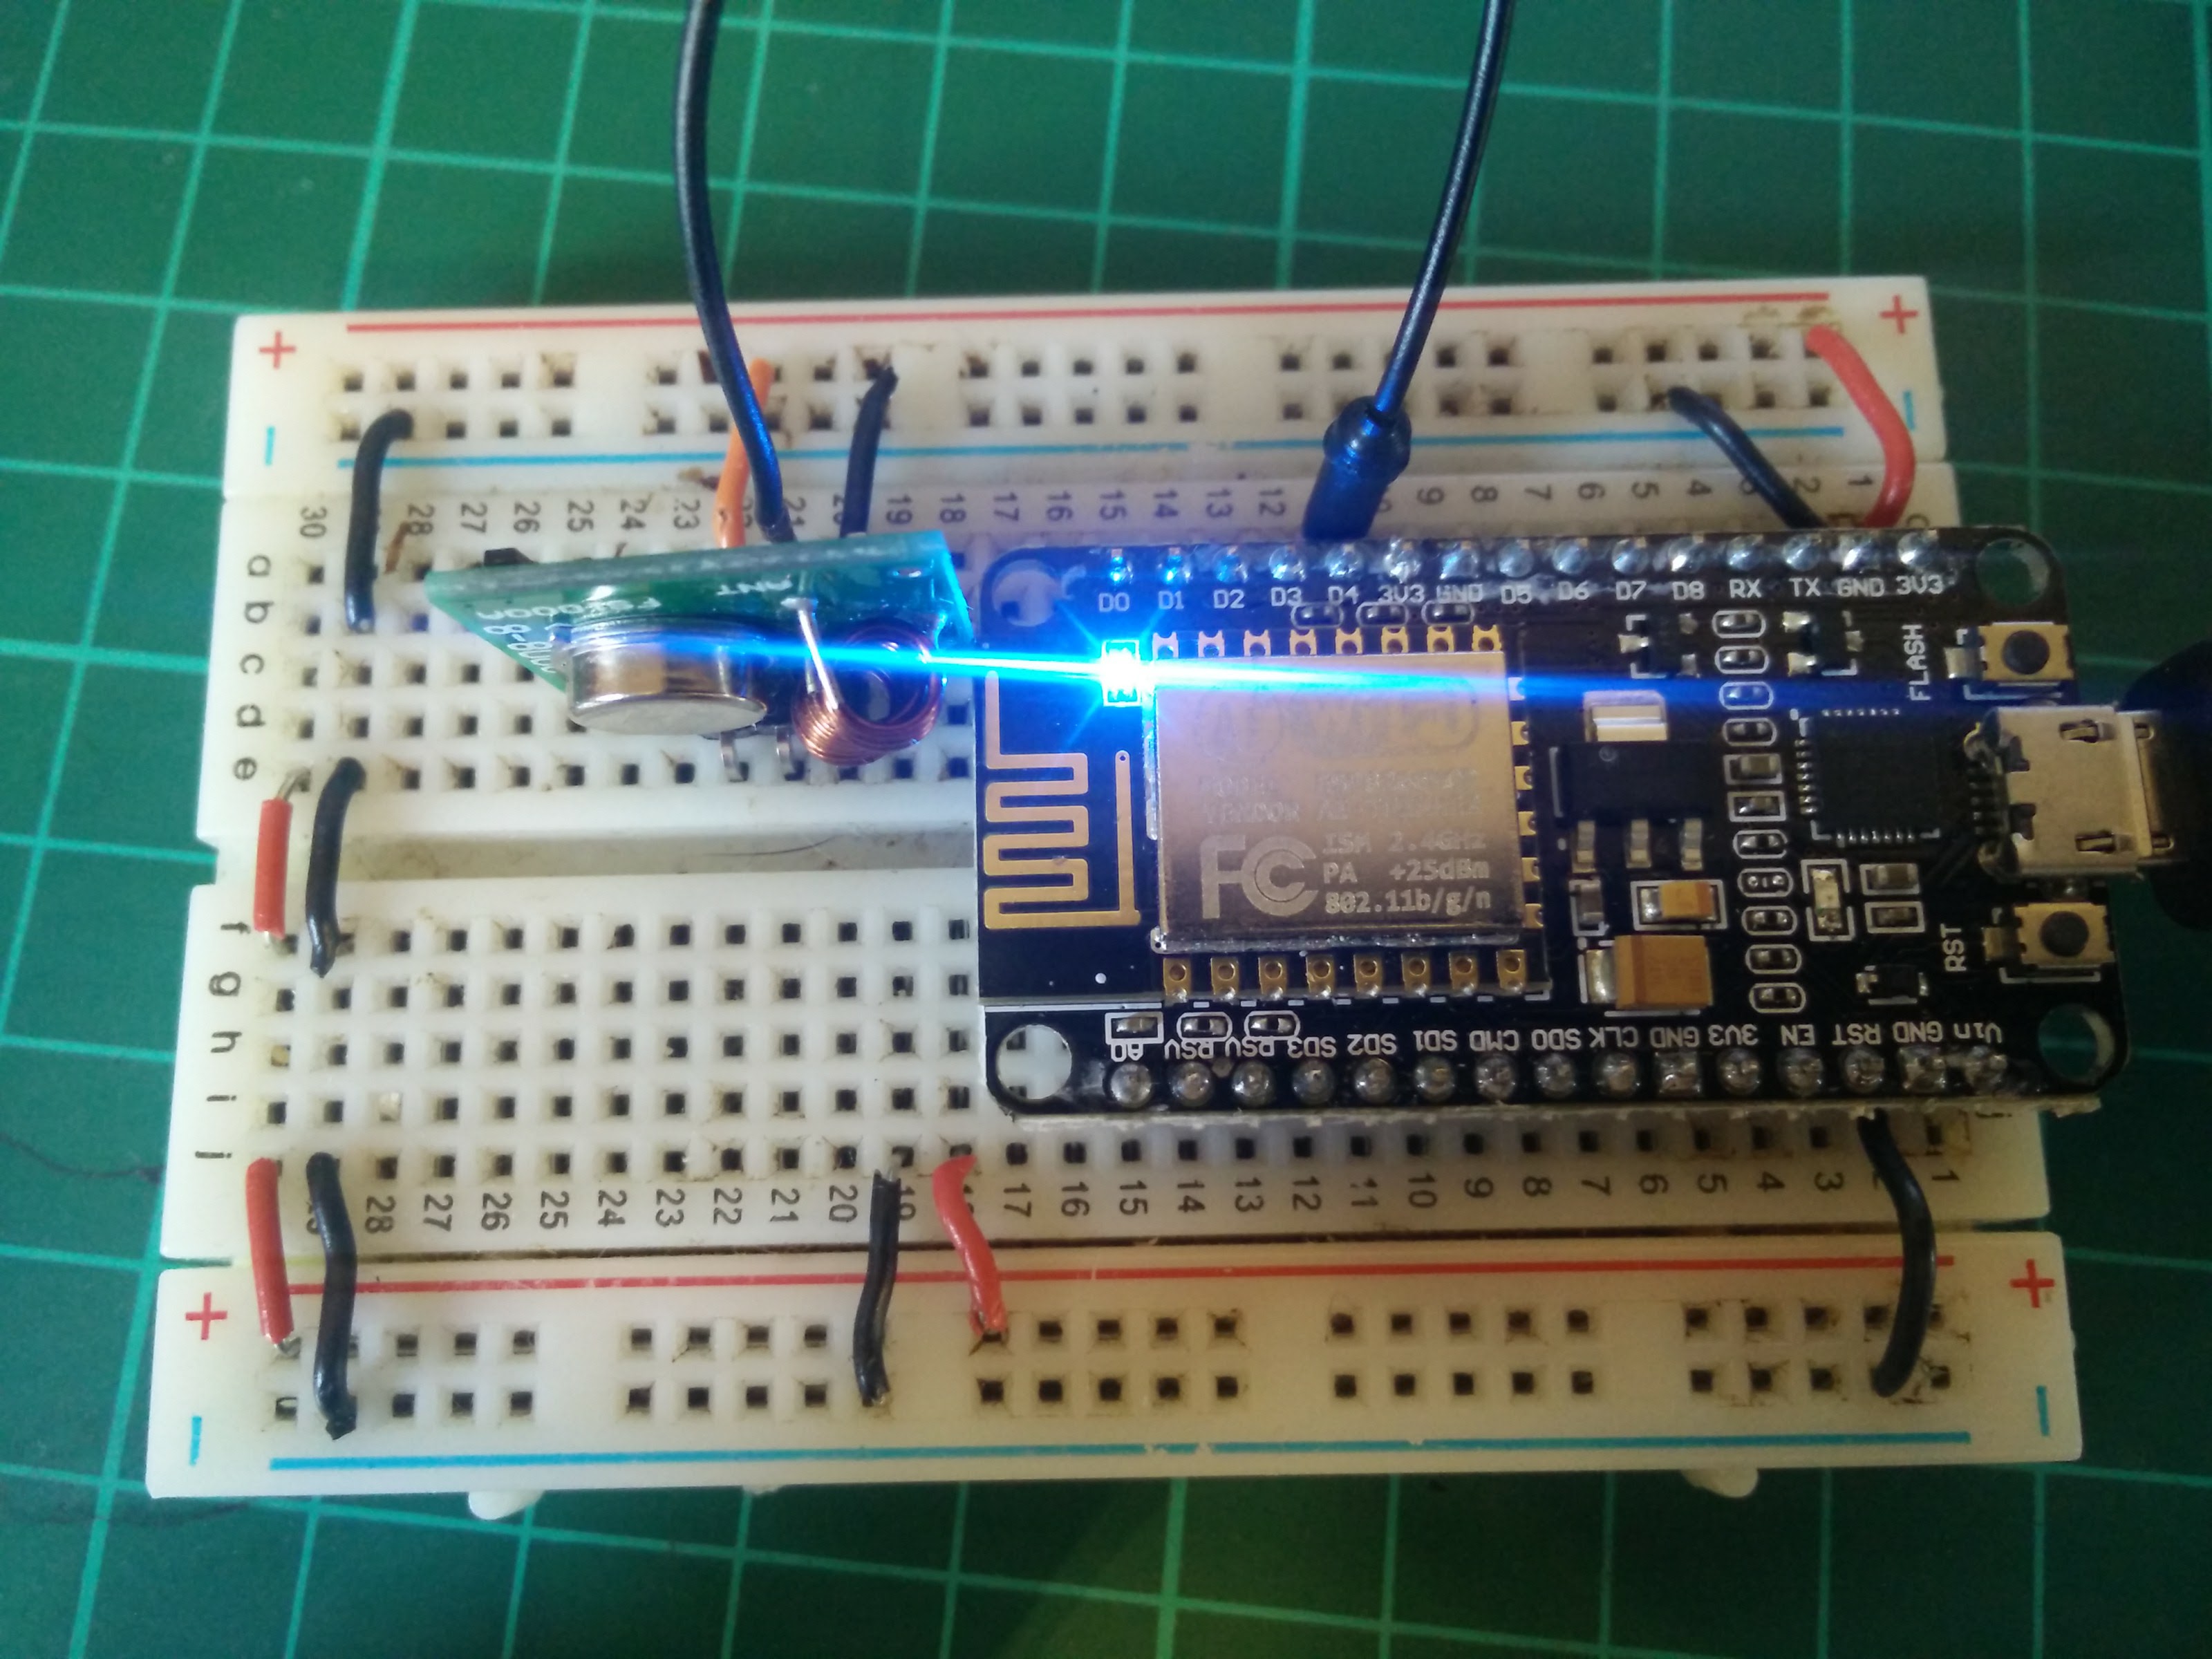
NodeMCU
NodeMCU is an open source IoT platform. It includes firmware which runs on the ESP8266 Wi-Fi SoC from Espressif Systems, and hardware which is based on the ESP-12 module. Source
The concept behind this is the same as our ESP8266 implementation. But, there are a few advantages of using NodeMCU instead.
- Easier development
- Lua scripting (easier than C++)
- Standard 5V microusb power input
- More stability (ESP8266 was constantly restarting (memory leak on C++?))
- Easier wiring (No need for reset button or PIN0 hack)
- More pins available than our previous ESP-01 module (this is ESP-12)
- Fully dedicated SDK (ESPlorer)

Lua examples on NodeMCU
Lua scripting is very simple and easy to learn. Similar to python at first, but without the alignment restriction; you use end tags to mark the end of a statement. These are a few examples
LED blink
LED_PIN = 4 -- Use pin 4
gpio.mode(LED_PIN, gpio.OUTPUT)

while true do
   gpio.write(LED_PIN, gpio.HIGH)
   tmr.delay(500 * 1000)

   gpio.write(LED_PIN, gpio.LOW)
   tmr.delay(500 * 1000)
end
Web server
wifi.setmode(wifi.STATION)
wifi.sta.config("Marphus","fafafafafa")

function check_wifi()
 local ip = wifi.sta.getip()

 if(ip==nil) then
   print("Connecting...")
 else
  tmr.stop(0)
  print("Connected to AP!")
  print(ip)
 end
end
tmr.alarm(0,1000,1,check_wifi)

srv=net.createServer(net.TCP)
srv:listen(80,function(conn)
    conn:on("receive", function(client,request)
        local buf = "";
        local _, _, method, path, vars = string.find(request, "([A-Z]+) (.+)?(.+) HTTP");
        if(method == nil)then
            _, _, method, path = string.find(request, "([A-Z]+) (.+) HTTP");
        end
        -- Store all the GET parameters in a table
        local _GET = {}
        if (vars ~= nil)then
            for k, v in string.gmatch(vars, "(%w+)=(%w+)&*") do
                _GET[k] = v
            end
        end

        buf = buf.."<h1> ESP8266 Web Server</h1>";

        client:send(buf);
        client:close();
        collectgarbage();
    end)
end)
More examples are available on their official website
Control radio energenie via web server
In this script we will combine the previous web server with a simple function to send radio signals.
wifi.setmode(wifi.STATION)
wifi.sta.config("SSID","password")
function check_wifi()
local ip = wifi.sta.getip()
if(ip==nil) then
print("Connecting...")
else
tmr.stop(0)
print("Connected to AP!")
print(ip)
end
end
tmr.alarm(0,1000,1,check_wifi)
RADIO_PIN = 4
gpio.mode(RADIO_PIN, gpio.OUTPUT)
function sendCode(code)
print("Sending radio code " .. code)
rc.send(RADIO_PIN,code,24,185,1,2) --Sends the data via GPIO pin 4 to the rc switch.
end
srv=net.createServer(net.TCP)
srv:listen(80,function(conn)
conn:on("receive", function(client,request)
local buf = "";
local _, _, method, path, vars = string.find(request, "([A-Z]+) (.+)?(.+) HTTP");
if(method == nil)then
_, _, method, path = string.find(request, "([A-Z]+) (.+) HTTP");
end
local _GET = {}
if (vars ~= nil)then
for k, v in string.gmatch(vars, "(%w+)=(%w+)&*") do
_GET[k] = v
print("Got parameter " .. k .. ": " .. v)
end
end
buf = buf.."<h1> ESP8266 Radio Web Server</h1>";
local radiofreq = {
["Socket 1"] = {on= 6916877, off= 6916878},
["Socket 2"] = {on= 6916871, off= 6916870},
["Socket 3"] = {on= 6916875, off= 6916874},
["Socket 4"] = {on= 6916867, off= 6916866}
}
for k, v in pairs(radiofreq) do
buf = buf.."<p>" .. k .. "<a href=\"?f=" ..v["on"] .."\"><button>ON</button></a> <a href=\"?f="..v["off"].."\"><button>OFF</button></a></p>";
end
local _on,_off = "",""
if( _GET.f ~= nil)then
sendCode(_GET.f)
end
client:send(buf);
client:close();
collectgarbage();
end)
end)

Again, as always, our code and all the details about this project are available on Github