Last weekend we attended a hardware hackathon organised by PCH in London. The theme of the hackathon was “Take your prototype to the next stage in 54 hours”, so in our case we brought our Watchduino prototype and focused on trying to make it closer to how it would look if it were a commercial product.
The best part is that at the hackathon there was a set of mentors, people who are experts in different areas of IoT, which were giving us useful advice about our product direction, design optimizations or the ins and outs of manufacturing.
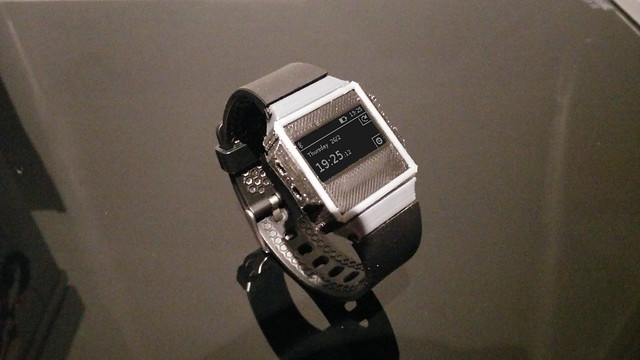
By the end of the hackathon, we had a functional (at least theorethically) design for Watchduino that looks this awesome:
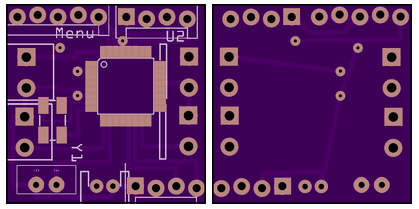
The first step to getting a hardware product into manufacturing is integrating all the electronics into a PCB. This not only makes the system easier to put together, it’s also smaller, and likely to be more energetically efficient.
So we designed a PCB that would mainly replace the Arduino Mini, breaking out the pins of the ATMega processor and leaving space to surface mount the rest of the components. To completely replace the Arduino board, a 8Mhz crystal oscillator needs to be added on top of our current components, as well as breaking out the RX and TX pins for reprogrammation. It’s pretty similar to the process we were following in our first Watchduino.
The board was designed with Fritzing, which we were already using for our schematic. We were recommended Eagle, which appears to be the industry standard software, and has a bigger component library and tons of support online. But Fritzing is simpler and open source, so it suited our purposes for the time being. You can find the file on the Github repo. In the future we would like to try out Eagle though.
By sacrificing the buzzer (which is not really very useful having the vibrator motor) and the USB charching module (to be replaced by a custom connector, as commercial smartwatches usually have) we were able to make our PCB exactly 1 square inch in area. Pretty sweet!
Being able to mount all the electronics in this small area mean there’s no longer the need to spread them across the strap as they were before. The whole design is completely compact, and small enough to fit in it’s entirety into a watch head; battery and everything.
In consequence, we redesigned our 3D case into a simpler shape, looking now very much like a conventional watch!

We are cheating a little bit, because we are reusing an existing strap from a Geonaute watch. These watches are sold at Decathlon stores, and just happen to have a so handy sliding mechanism for interchangeable straps.
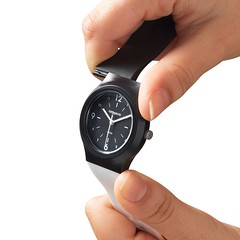
So we designed our new 3D case with the same shape, and made it compatible with the Geonatue straps. Once we figure out how to print with flexible filament we’ll replicate the strap with the same connector.
There’s just one thing missing: our sexy new prototype can’t be functional until the PCB is printed (the image above I’m afraid is a dramatization with a screenshot pasted on it). Printing PCBs can be done manually, but it’s handier, better, and often cheaper to just get a manufacturer to do the job.
When you design a PCB, either with Fritzing, Eagle, or other software, you can export the result as Gerber files, which contain all the different layers of your design. You can provide any PCB manufacturer with this format, and they’ll be able to fabricate a production-quality version of your board.
So we’ve done just that: we ordered a 3-board batch of PCBs to OSH Park, for the outrageous price of just £1 each. We can’t wait for them to arrive and see if we can get our first mini production-run of Watchduinos!